The best drivers and the best information I found is from here. Most others did not work.
The hat does not work right out of the box. A driver must be installed in order to change the display device. After having a working instatation of Raspberry Pi, you must download the driver LCD-show-170703.tar.gz and uncompress it.
Make sure that the operating system is ready to use the resources needed. You may need Internet access for your raspberry pi unit, to solve its software dependencies. So either connect it through wired or wireless network.
Then download the drivers and install them.
wget http://www.waveshare.com/w/upload/0/00/LCD-show-170703.tar.gz
tar -xvf LCD-show-170703.tar.gz
cd LCD-show
chmod +x LCD35-show
./LCD35-show
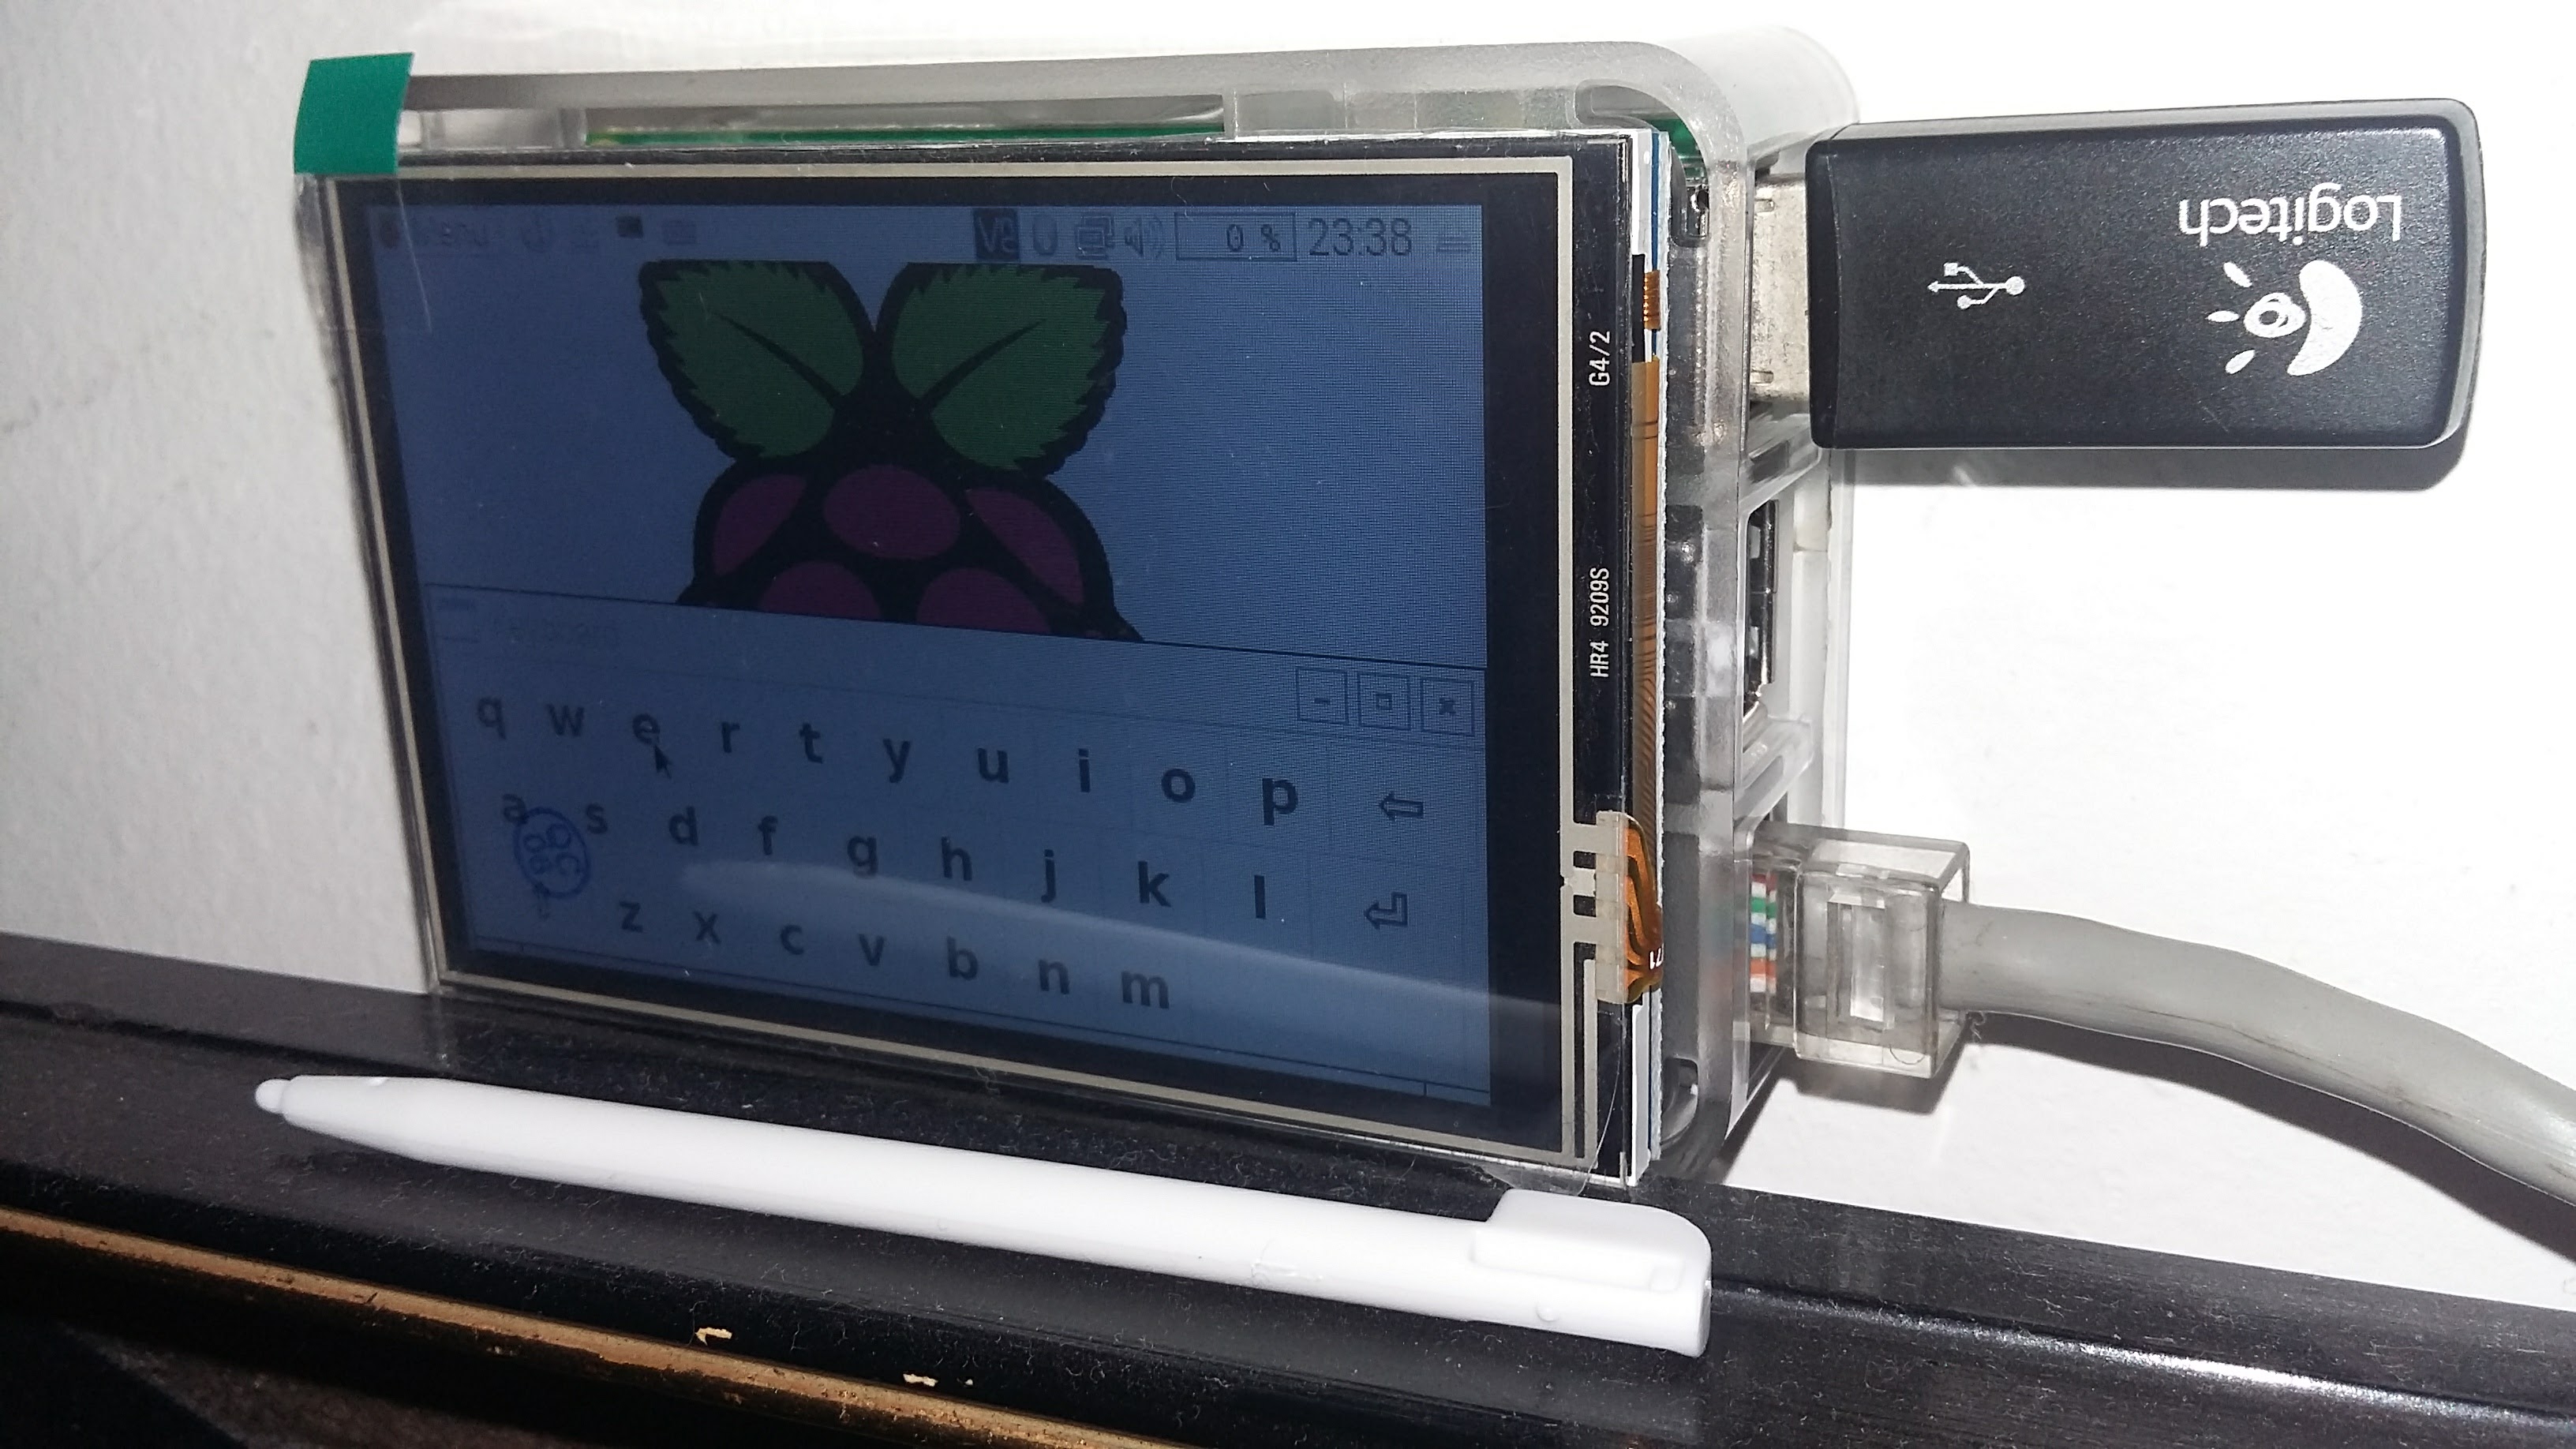
After rebooting the system, the RPi LCD is ready to use. You should see part of the text mode boot, and after a while the graphic interface should show up. Remember that this will disable the HDMI as screen.
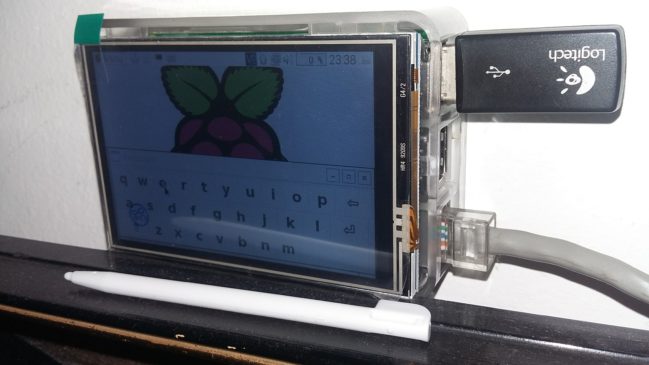
It should work fine with your finger tips, but works better with the included plastic pen.
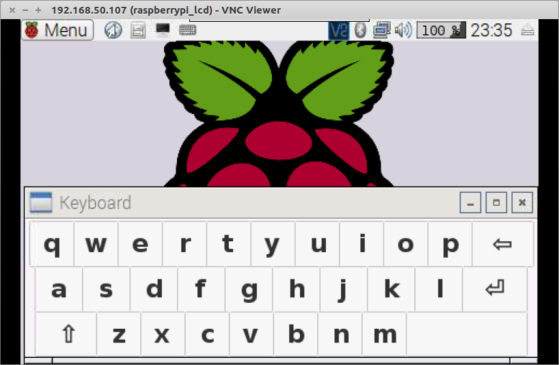
If you install Real VNC access, as suggested at the raspberry pi site, you can experiment remote access to your screen.
The screen is small for many activities, so it is better to decrease the size of the menu and many letter types. Anyhow the use of this display should be for special applications that have forms designed for this screen.
You can also use a ready installed memory card image
The installation also has a onboard keyboard that you can use for data entry, or you can install it yourself. You’ll find it at Accessories|Keyboard
sudo apt-get install matchbox-keyboard
In a future post I will show some examples developed with Lazarus/Typhon free pascal.


